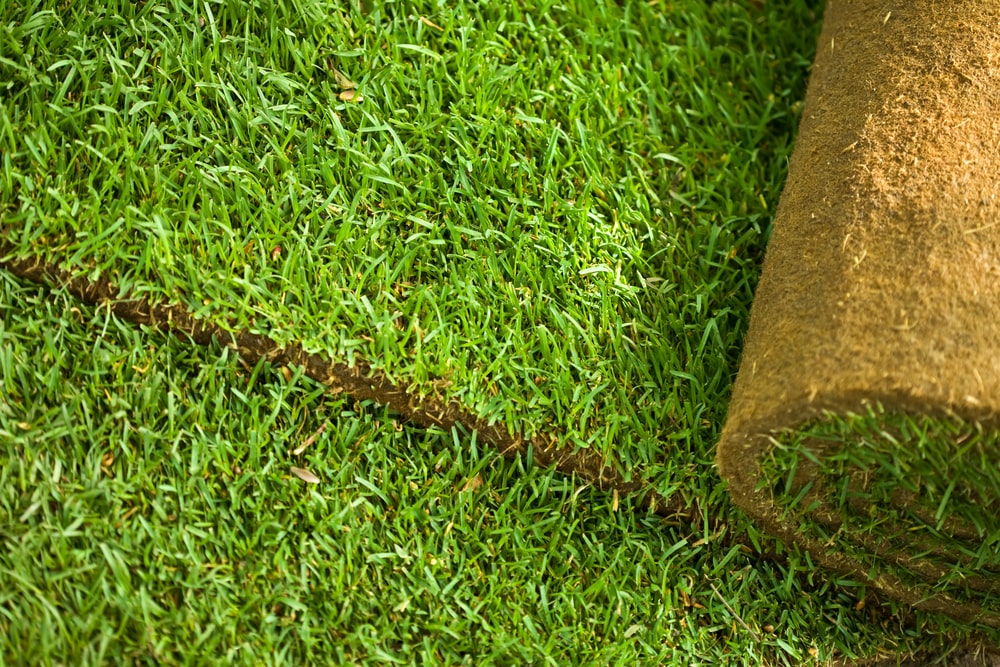
Turf Laying
Turf Laying Guide
A Small But Detailed "How to Lay Turf?" Guide
How much turf do you need?
Laying Turf isn't as difficult as you might think. Follow this short guide, step by step and you will have a beautiful lawn!
The first thing you need to work out is how much turf you would need. Try and measure the area you wish to lay turf on in meters as the majority of turf is sold in square meters (m²). If you have the measurements, but they're not in meters, don't worry about it! Call or Email in and we can convert your measurements into the number of turf rolls you will need.
Alternatively, we have a Turf Calculator that you can choose which measurements you would like to use and it will be converted and calculated for you!
Remember that turf needs laying within 24 - 48 hours of delivery (depending on weather conditions, the hotter the weather the sooner it will need to be laid). However, we always advise you to lay your turf as soon as possible!
STEP 1 | GROUNDWORK
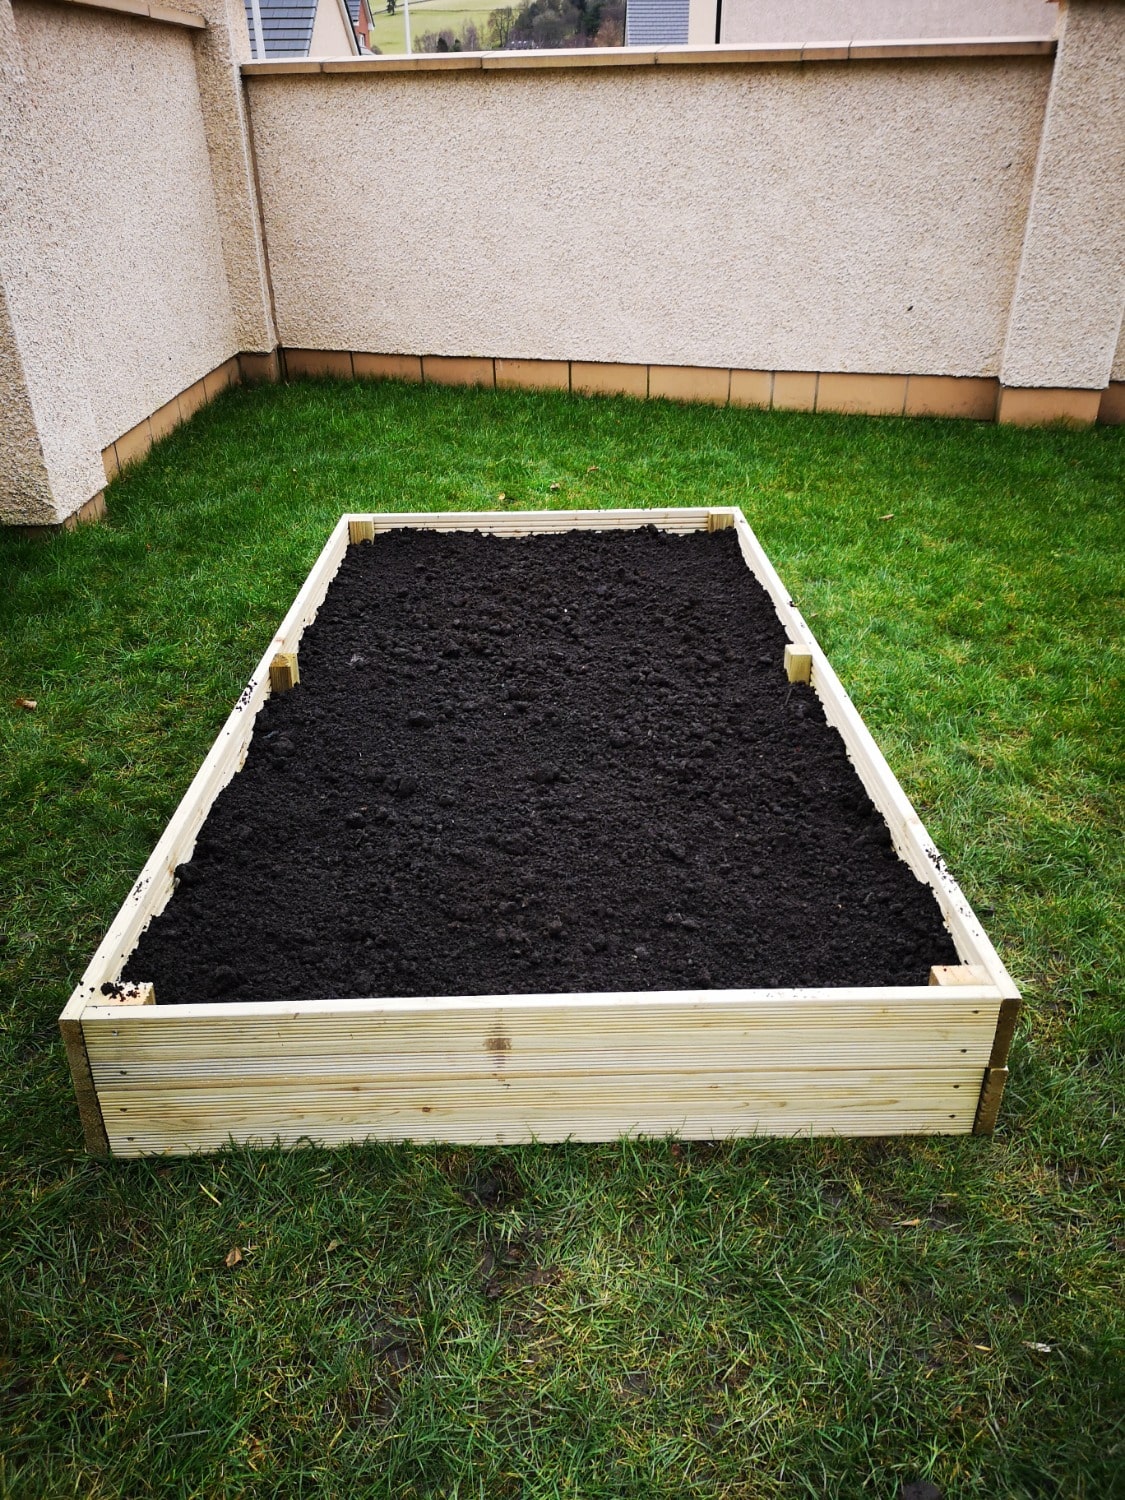
Preparing your ground for turfing laying is easily the most important step and will be slightly time consuming. However, the more effort you put in here, the better your lawn will look!
- Strip off any old grass / weed by digging underneath the turf to lift off the grass plus about 1.6 inches of soil. This can be done with either a spade or for larger areas you can hire a turf cutter from your local hire shop.
- Discard the weed and turf top (you can shake out the soil from the roots if you wish).
- You should now be left with bare soil, this can now be dug over with a spade to a depth of around 3 to 6 inches, breaking the soil up as you go, this will air-ate the soil and improve drainage as well as root establishment. For larger areas the soil can be rotivated with a mechanical rotivator (available from hire shops), but digging over with a spade is just as good.
Now you should have a rough but broken up soil bed.
STEP 2 | RAKING AND LEVELING
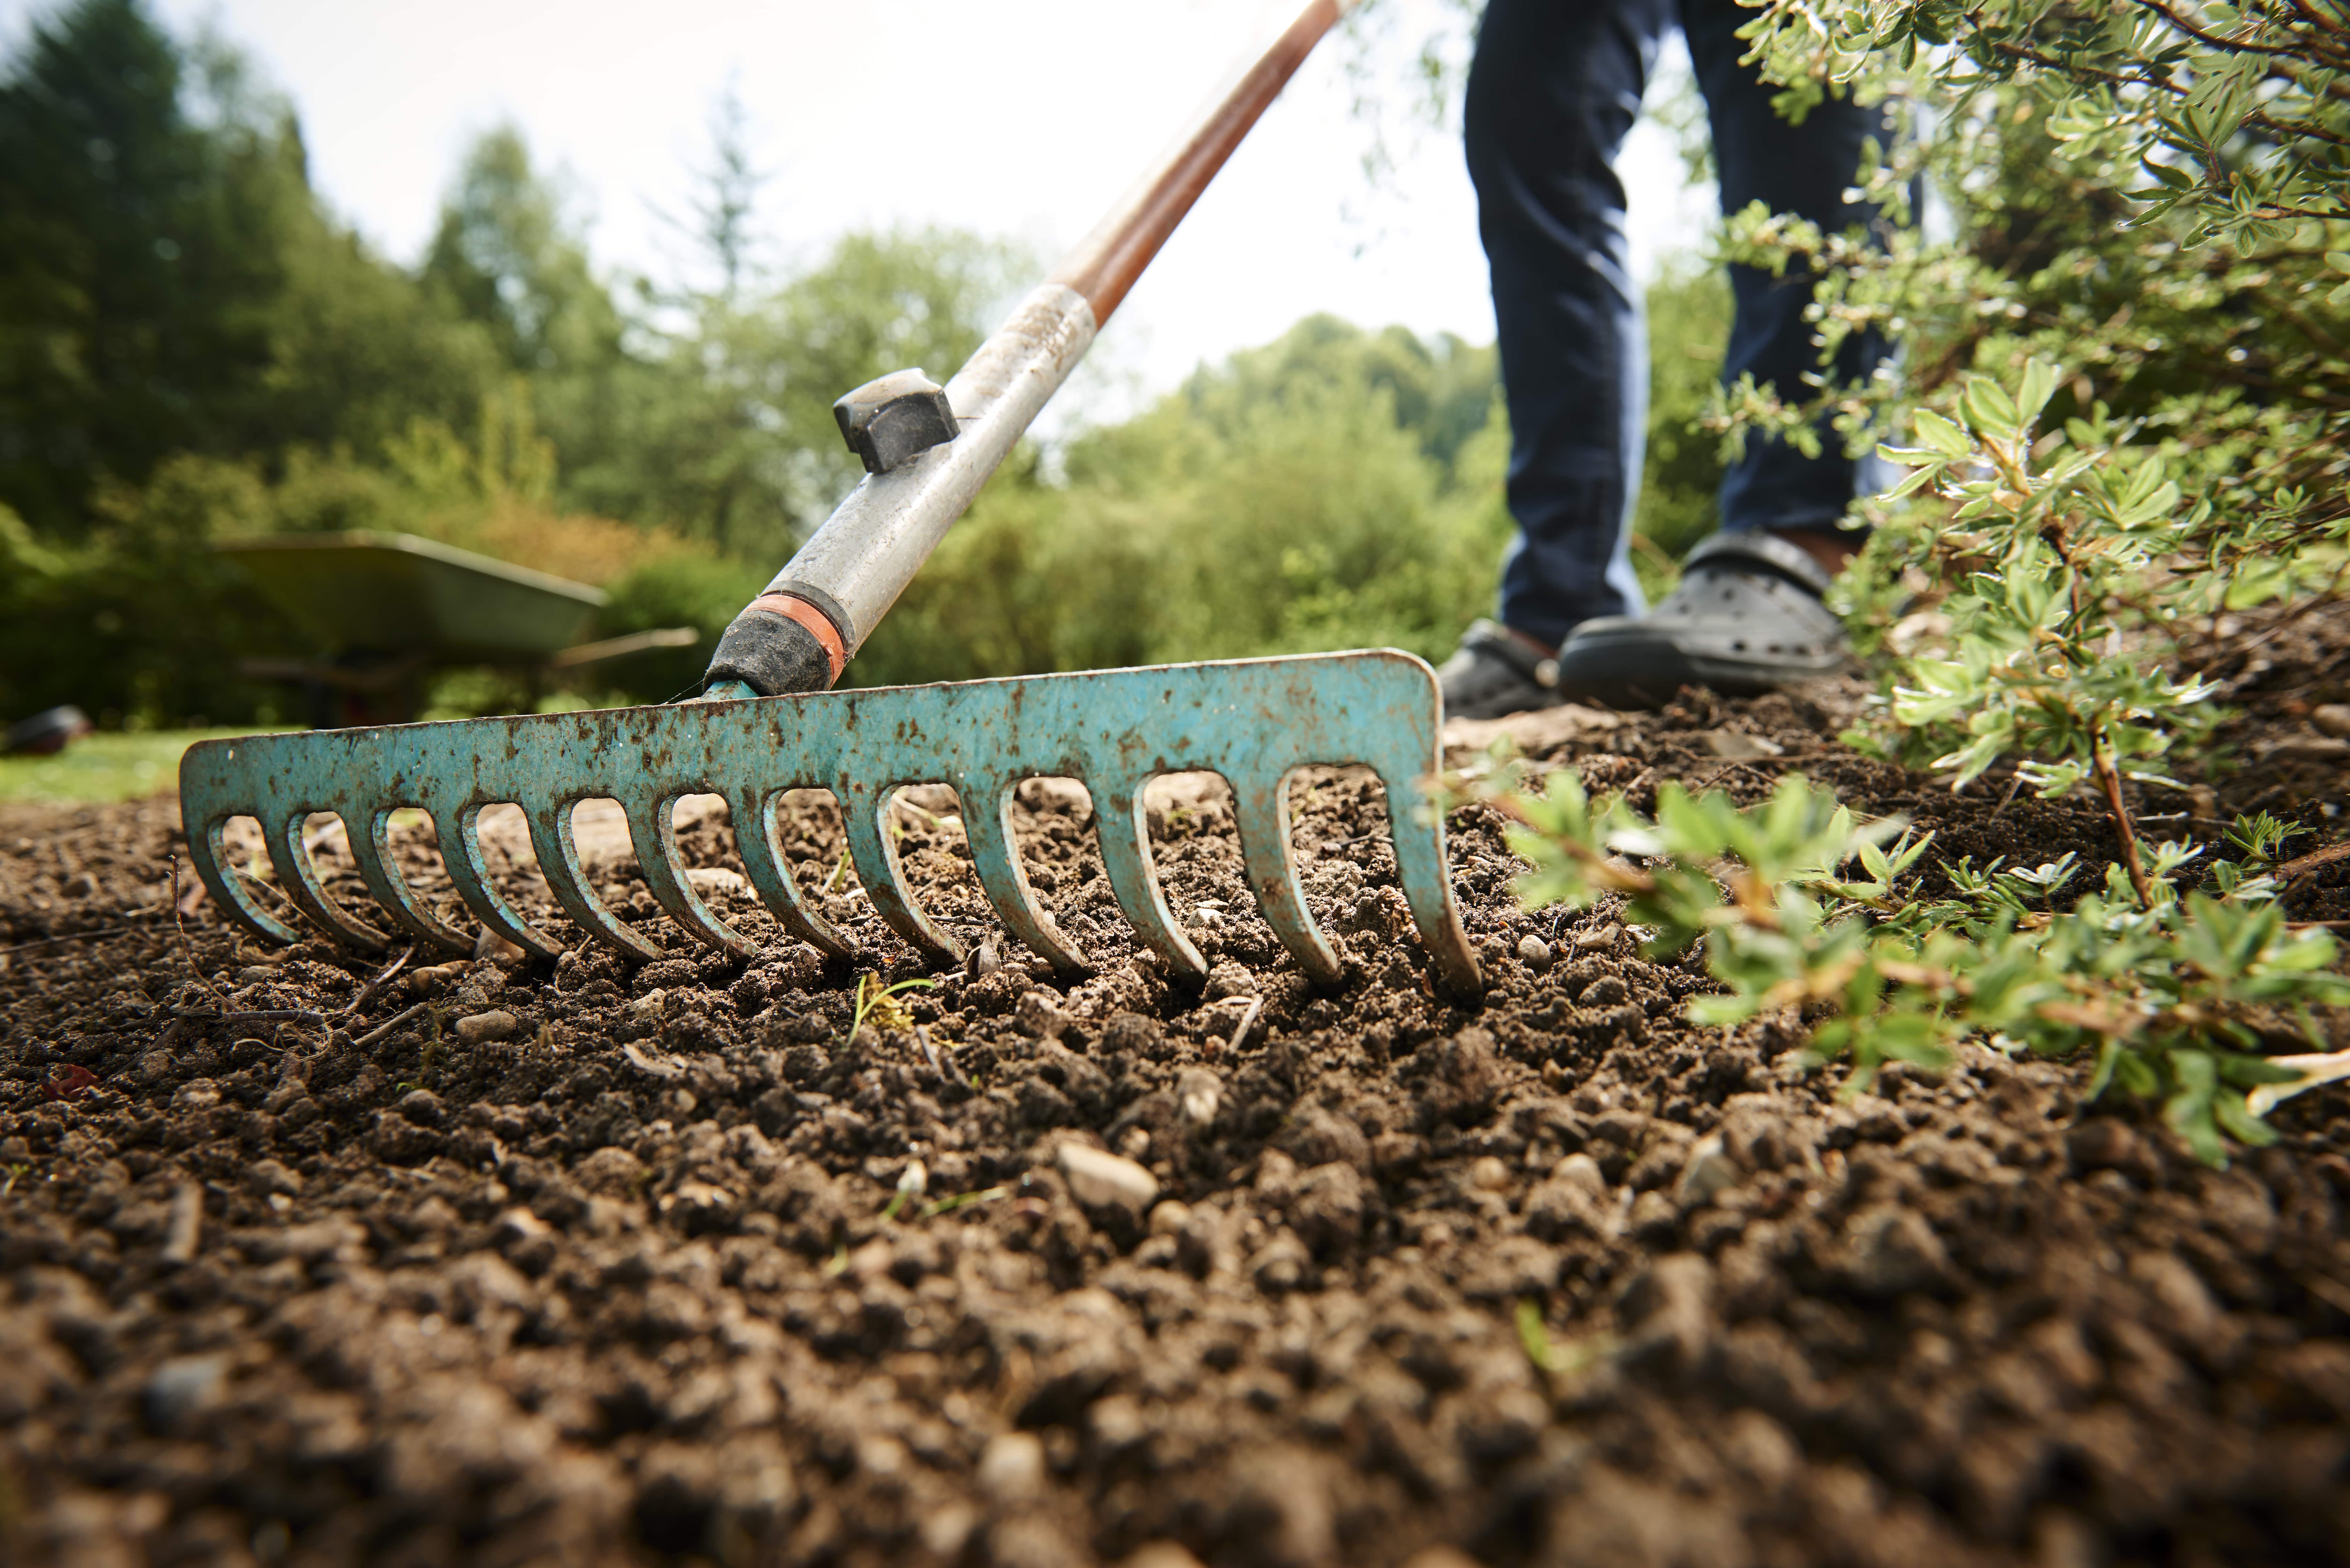
The soil now needs compacting and raking level with a wide turfing rake, this is a very important stage as it will break up the soil clumps and lumps, making leveling much easier.
- Compact the soil by walking on it with your heals then rake the soil several times in different directions dragging soil into any low areas to level the whole garden (discard any stones or roots that you rake off the surface).
- If you need to build up levels or add topsoil, this is the time to do it.
- Repeat the compacting stage and then re-rake, repeat this process until you have a firm and level surface (the more level your soil the more level and better the finished lawn will be)
Top Tip" ... Turfing rakes usually have a flat side as well as a spiked side, use the flat sid to smooth out the top surface, your soil should be firm enough so that you do not sink into it more than half an inch or so when you walk on it.
Once you're happy with the level and the firmness of the soil surface you can give it a final rake over. You are nearly ready to lay the turf!
STEP 3 | LAYING THE TURF
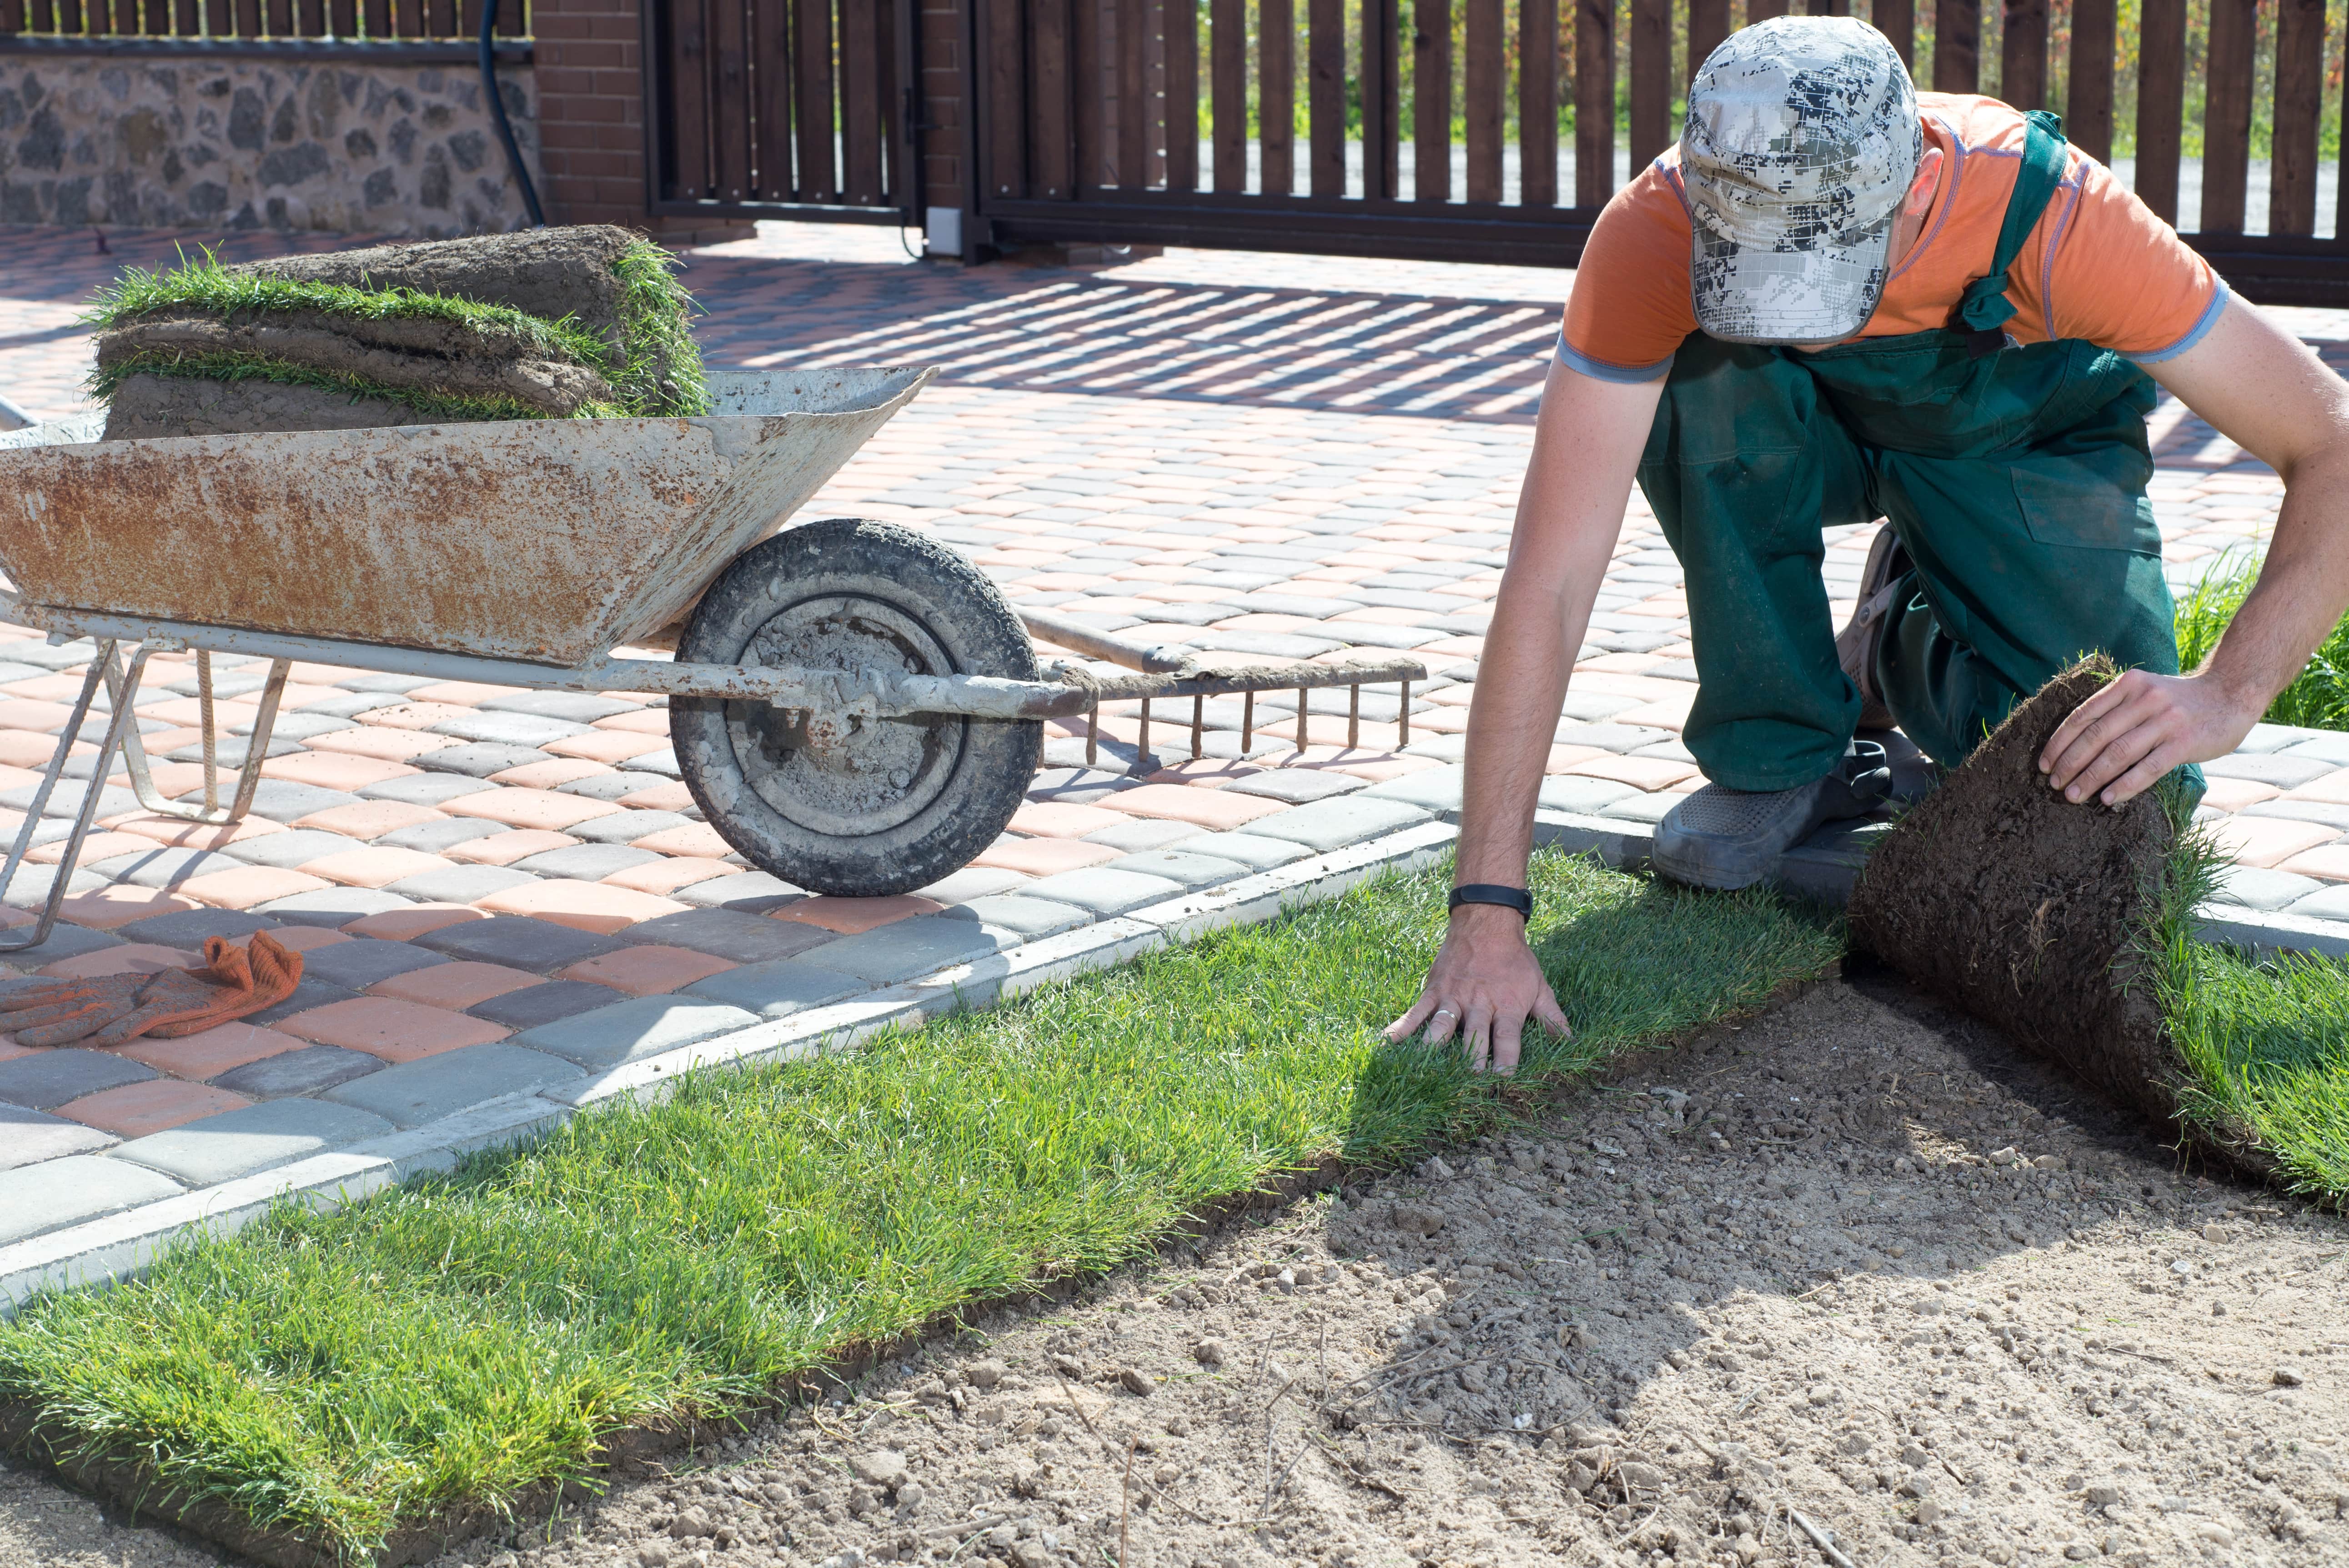
Following this guide, you should now have a nice smooth and level soil bed and your fresh turf should have been delivered. You can now apply and pre turfing fertilisers, if you have any or need any.
- Start at a point furthest away from you as you don't want to have to walk over your newly laid turf to lay the next row down, you may need to rake again before you lay the roll down to remove foot prints etc.
- Take a roll of turf and unroll it along a straight edge of the garden to start, then take the next roll and butt it up to the end of the first roll and roll that one out. Do this until you have rolled out a row of turf the length of the area you are covering (its like rolling out a rug or carpet). Then start the next row by taking a roll and butting the edges up next to the last row and roll it out in a parallel row, try to stagger the joints (like brick work) and make sure the edges are tight to each other.
- Tamp the turf down with the back of the rake or a board as you go especially along the joins, this will ensure the roots are in contact with the soil.
STEP 4 | WATERING

Once you have finished laying your turf you will need to give it a good soaking with a hose pipe, your turf will now need watering daily and try to keep off the turf until the roots and bedded into the soil.
After about 10 days you should check it see if the roots have bedded, into the topsoil. To do this just lift the corner of a roll of turf. You should be able to see fresh white roots extending down from the turf into the soil.
Once the turf is established properly, you can reduce the watering frequency and start to walk on the turf!
